
One of the biggest things that has kept me occupied during this crazy pandemic has been gardening. Working outside with your hands while listening to music or a podcast creates relaxing, refreshing experiences — especially when they’re hard to come by. And it’s always exhilarating to see sprouts peeking out of the dirt for the first time!
The other day I remembered the moment I felt in love with watching plants grow, and now I want to share that experience with you. In elementary school, my teacher had the class make their own ecosystems in a bottle — we were amazed! We each made a sealed, self-sustaining moss terrarium and I kept mine for several years, watching the moss slowly overtake the bottle.
Don’t have a green thumb? No worries. Here’s a step-by-step guide on how to make your own mini ecosystem.
List of Materials
First things first, gather these materials for your mini ecosystem.
Required items:
- A clear bottle
Glass is best, but just about anything will work — I’m using a Mason jar. - Patches of moss
Moss is easy to harvest and has almost no root system. Can be typically found in shady areas. - Small rocks
Optional items:
- Soil
- Decorative accessories
Step-by-step Guide
Step one: Add small rocks to the bottom of the jar
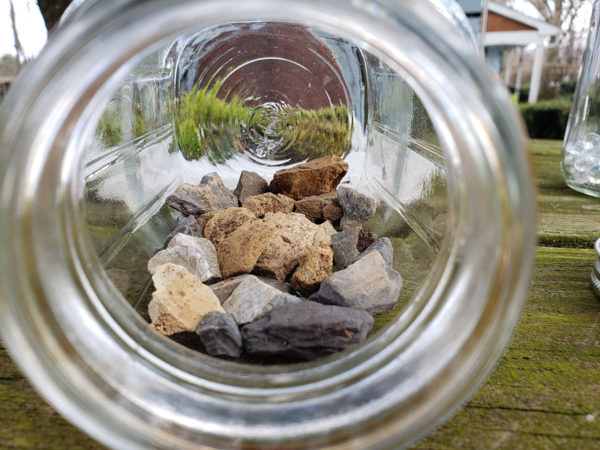
Rocks are important for drainage; they allow excess water to pool at the bottom of the jar. Rocks also provide something for the moss to grow onto. Moss is incredibly hardy and can grow on just about anything, as anyone with a brick patio can confirm.
Step two: Cover the rocks with a layer of soil (optional)
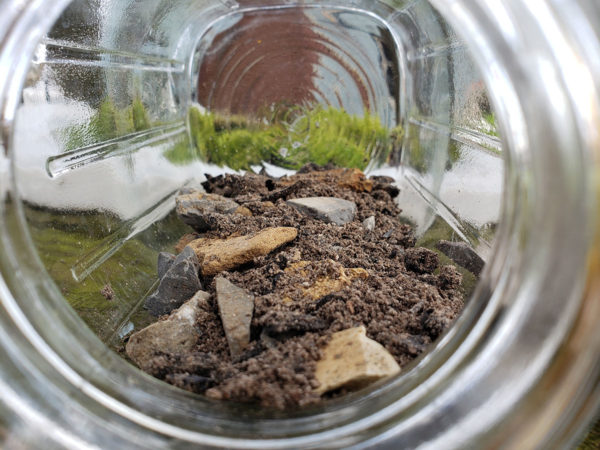
As explained in Step one, moss doesn’t need much to grow, so the soil is not vital to the survival of the moss. But add some if you like — I did!
Step three: Place damp moss over the base layer
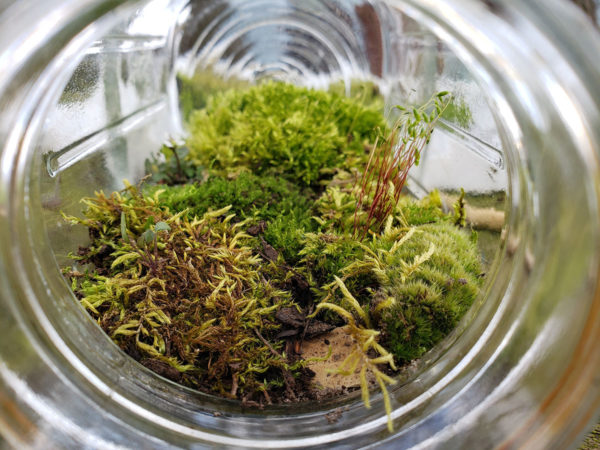
To make sure there will be enough water for the ecosystem to survive, dip each piece of moss in water and then lightly squeeze excess water out before placing into the jar. Do your best to have the moss sections form a flat layer over your base.
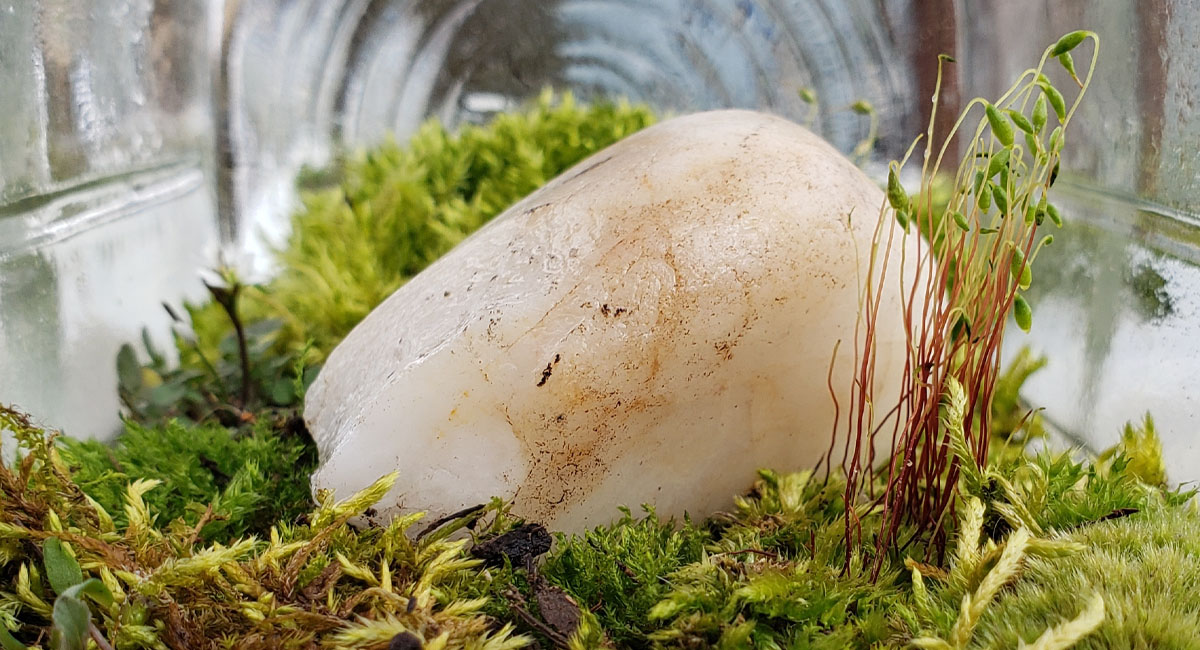
Step four: Accessorize!
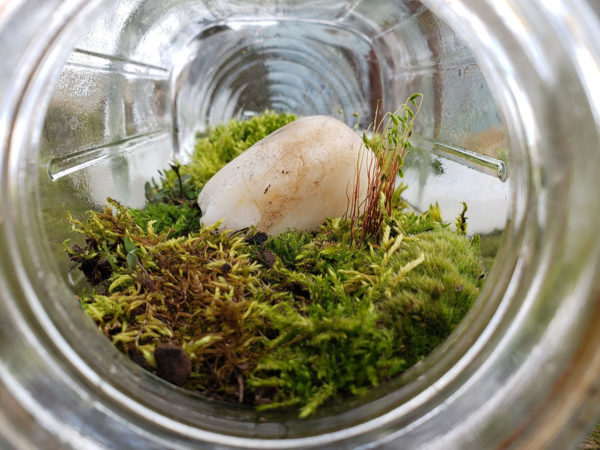
I found a couple nice-looking rocks to add to my mini ecosystem as decoration and to give another surface for the moss to eventually grow onto.
Step five: Seal your mini ecosystem
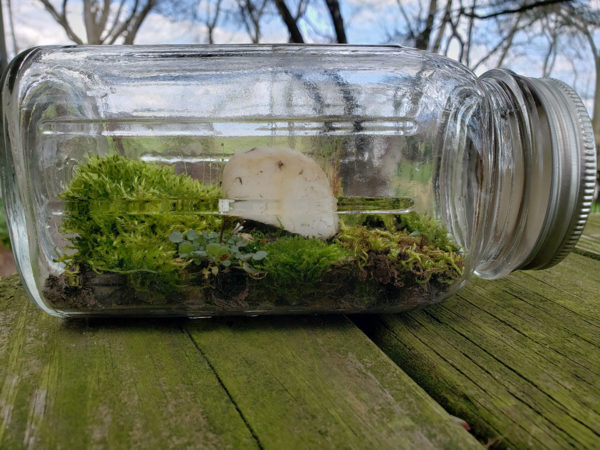
I happened to have the lid for my jar handy, so I used it to make an air-tight seal. If you don’t have a lid, then covering the opening of your jar with plastic wrap and using a rubber band to hold it down works just as well!
Step six: Place at a windowsill and enjoy!
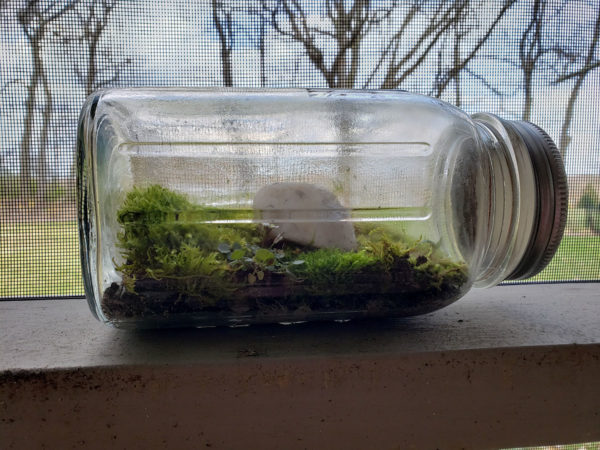
Place your mini ecosystem in a sunny spot and watch as your moss grows over time! You will also see the ecosystem’s water cycle in real time as the sun evaporates extra water and then condenses on the sides of the jar — only to drip back down to keep the moss hydrated.
That’s it! I hope you enjoy making your own as much as I enjoyed making mine.
Interested in more fun activities?
We have plenty of ways for you to connect to the natural world in your home or classroom!
What a fun project! I love that you can use an upcycled container for this- I have a pasta sauce jar that would be perfect!